In a continuous effort to enhance security, improve customer experience, and mitigate fraud, UPS has made significant changes to its API integration process. Effective June 5th, UPS announced discontinuing issuing new API access keys, replacing them with a more robust security model: OAuth 2.0. This blog post will delve into the details of this upgrade and its impact on users.
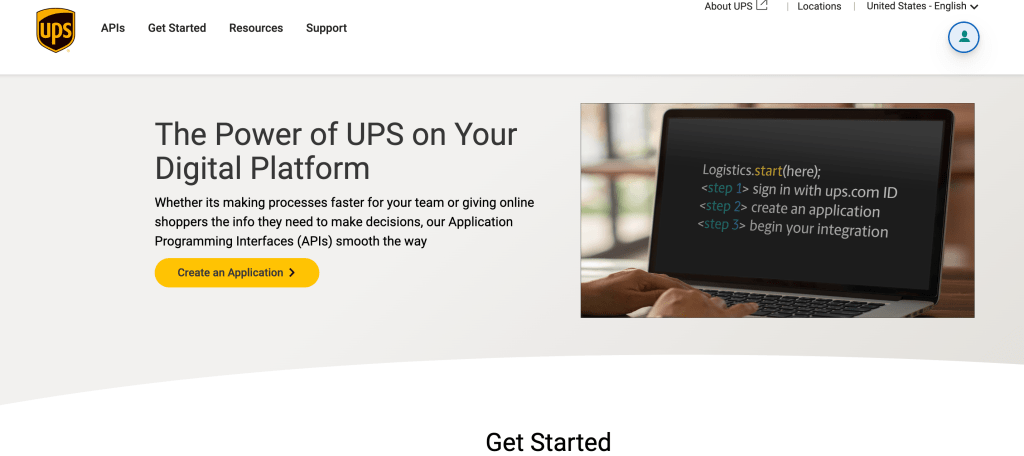
API Access Keys: A Thing of the Past Until recently, UPS allowed users to create access keys to integrate with third-party services and applications such as Pluginhive or WooCommerce UPS Shipping plugins. These access keys bridge users and UPS’s APIs, facilitating seamless communication and data exchange. However, recognizing the need for a more secure and efficient system, UPS has transitioned away from access keys and implemented OAuth 2.0.
Introducing OAuth 2.0: A New Level of Security With the implementation of OAuth 2.0, UPS aims to bolster the overall security of its customers and reduce the risk of fraud. OAuth 2.0 is an industry-standard authorization framework that offers improved security features and enhanced API capabilities. It replaces the traditional access keys with a client ID and client secret for authentication.
Benefits of OAuth 2.0 Integration:
- Enhanced Security: OAuth 2.0 provides a more robust security framework compared to access keys, reducing the risk of unauthorized access or malicious activities.
- Simplified Authentication: The client ID and client secret streamline the authentication process, ensuring a seamless and secure connection between users and UPS’s APIs.
- Improved User Experience: With OAuth 2.0, users can experience a smoother integration process, leading to enhanced productivity and efficiency.
- Fraud Mitigation: The enhanced security measures offered by OAuth 2.0 help protect against fraudulent activities, safeguarding users’ sensitive data.
Step-by-Step Guide to Configuring UPS OAuth2.0 with PluginHive for WooCommerce WordPress After June 5th:
The following details are required before starting UPS & Pluginhive integration process:
- First Name
- Last Name
- Title
- Company Name
- Website URL
- Address Line 1
- Address Line 2
- Address Line 3
- City
- Country
- Zip Code
- Phone Number
- UPS Account Number
- UPS Account Name
- Post Code(Collection Location)
- Invoice Number
- Amount Due
- Invoice Control Id
- Invoice Issue Date
- Currency
- WordPress Website
- Plugin: WooCommerce UPS Shipping Plugin with Print Label
Step by Steps Instructions to UPS OAuth 2.0 with PluginHive in WooCommerce:
- Login to UPS.
- Obtain the Account Number by checking the following sources:
- The email you received.
- The “My Account Over View” section.
- The “Accounts & Payment” section.
- Create a shipment.
- Obtain the invoice for the newly created shipment.
- Login to WordPress.
- Ensure that the Pluginhive Plugin is updated to the latest version.
- Verify that the API Key is activated and intact.
- Go to UPS Registration.
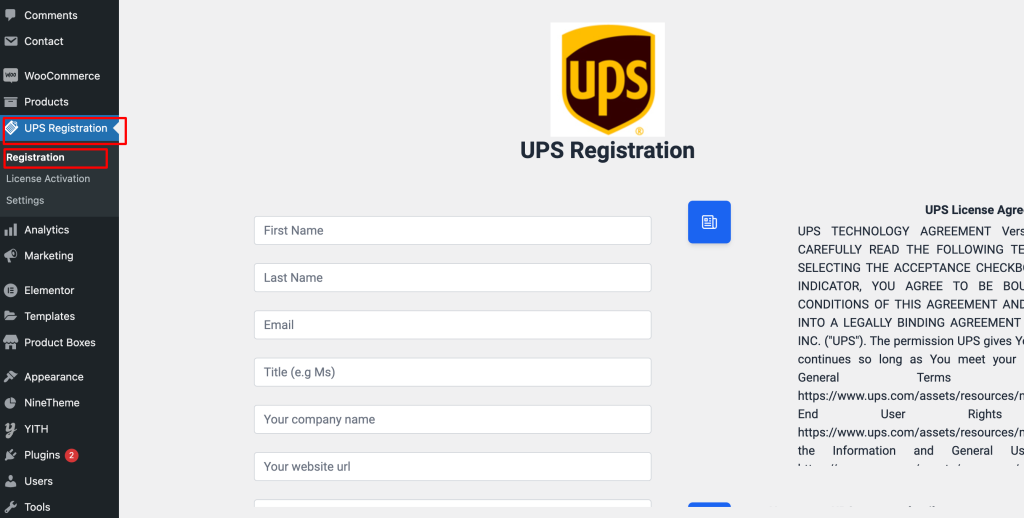
9. Fill out the form, ensuring that all the details are accurate and match your UPS Account.
10. Once the form is complete, submit it.
11. The submitted form will automatically connect your website.
12. The connected website will be registered with UPS through Pluginhive Services.